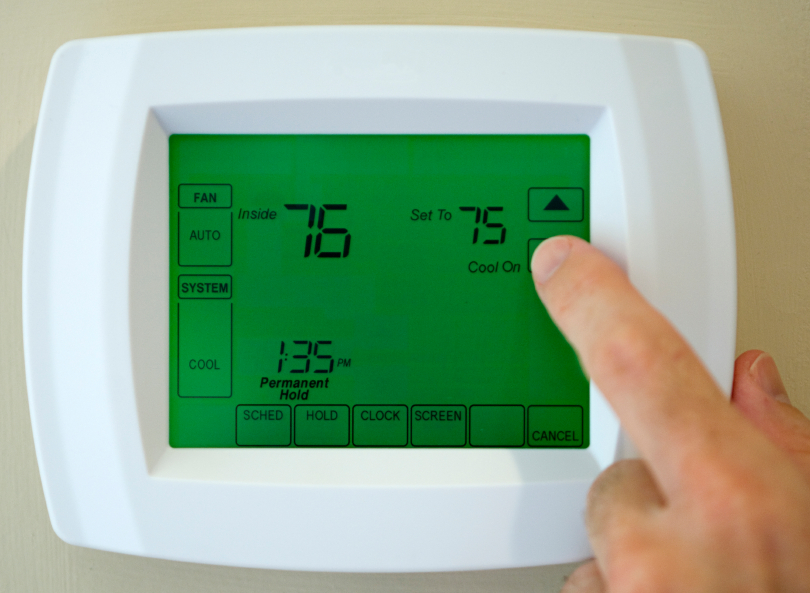
If you have ever wondered how to install a programmable thermostat, you might be surprised to know that the installation process is not that difficult. New technology is changing every aspect of our lives. At home, time saving features can help us lower our bills and increase our comfort. Programmable thermostats are an example.
Programmable thermostats are user-friendly and control the climate in your house very efficiently. You will also appreciate the simplicity of installation. After you enter all of the settings on your new thermostat, you’ll be able to go about your daily activities in total comfort. Your computerized thermostat will manage the interior temperature based upon the daily schedule of you and your family. Follow a few simple guidelines to get it ready for use.
1. Remove Your Old Thermostat
After you have selected and brought home the replacement thermostat, safely remove and dispose of the old thermostat. Be sure that you have first turned off your central heat and air systems and shut off the power to that part of the house at the breaker. When you are disconnecting the old device, use tape to mark the wires that attach the old thermostat to the wall. Add the corresponding letter from the old thermostat for each wire that comes out of the wall.
2. Install Your New Thermostat
Start the installation process by getting a carpenter’s or digital level and making sure that the two holes you will need for the thermostat screws are even. If you are lucky, the holes will be in the same spot as the holes for your old thermostat. Drill new holes for your thermostat housing if necessary, and then gently hammer anchors for the screws in each hole.
Now place the backbone of the new thermostat against the wall and screw it on using the holes that you made a few seconds ago. The owner’s manual will include some guidelines, but the main thing to note is that the wires on your new thermostat match the color codes for each wire in your wall. Just match the correct wires to the terminals on your programmable thermostat to install your new device in a proper manner. Your labeled tape on the wires from Step 1 will help.
3. Program Your New Device
Begin by pressing the reset button on your new device. Your owner’s manual has all the instructions for your model so be sure to consult it for step-by-step directions. The initial programming options will be different for each thermostat model. You will enjoy being able to set different temperatures according to the activities of your day. Many people like to keep it cooler over night when they are snuggled under the blankets but warmer when watching TV or cooking dinner. You can establish those settings easily with your new programmable thermostat.
4. Reap the Rewards
Once you have installed and programmed your thermostat, sit back and enjoy the ideal climate of your home throughout the day. You may need to make some adjustments before you get everything set perfectly, but once it is set up your thermostat will help you save a lot of money by heating and cooling only when needed.
If you have any difficulties with the new programmable thermostat, including the installation, it may be time to call a licensed electrician. Your neighbors at American Home Shield can help you find a reliable professional and will make sure that you are only charged the fee you selected for service visits in your contract. Whether you are just replacing a breaker or need an entire section of your home rewired, you only pay for the standard house call. Best of all, you can rest assured that all the work will conform to your city’s codes.


